
Live in the viewport
The blur follows the camera as it moves, frame by frame, and F12 renders what the viewport shows.

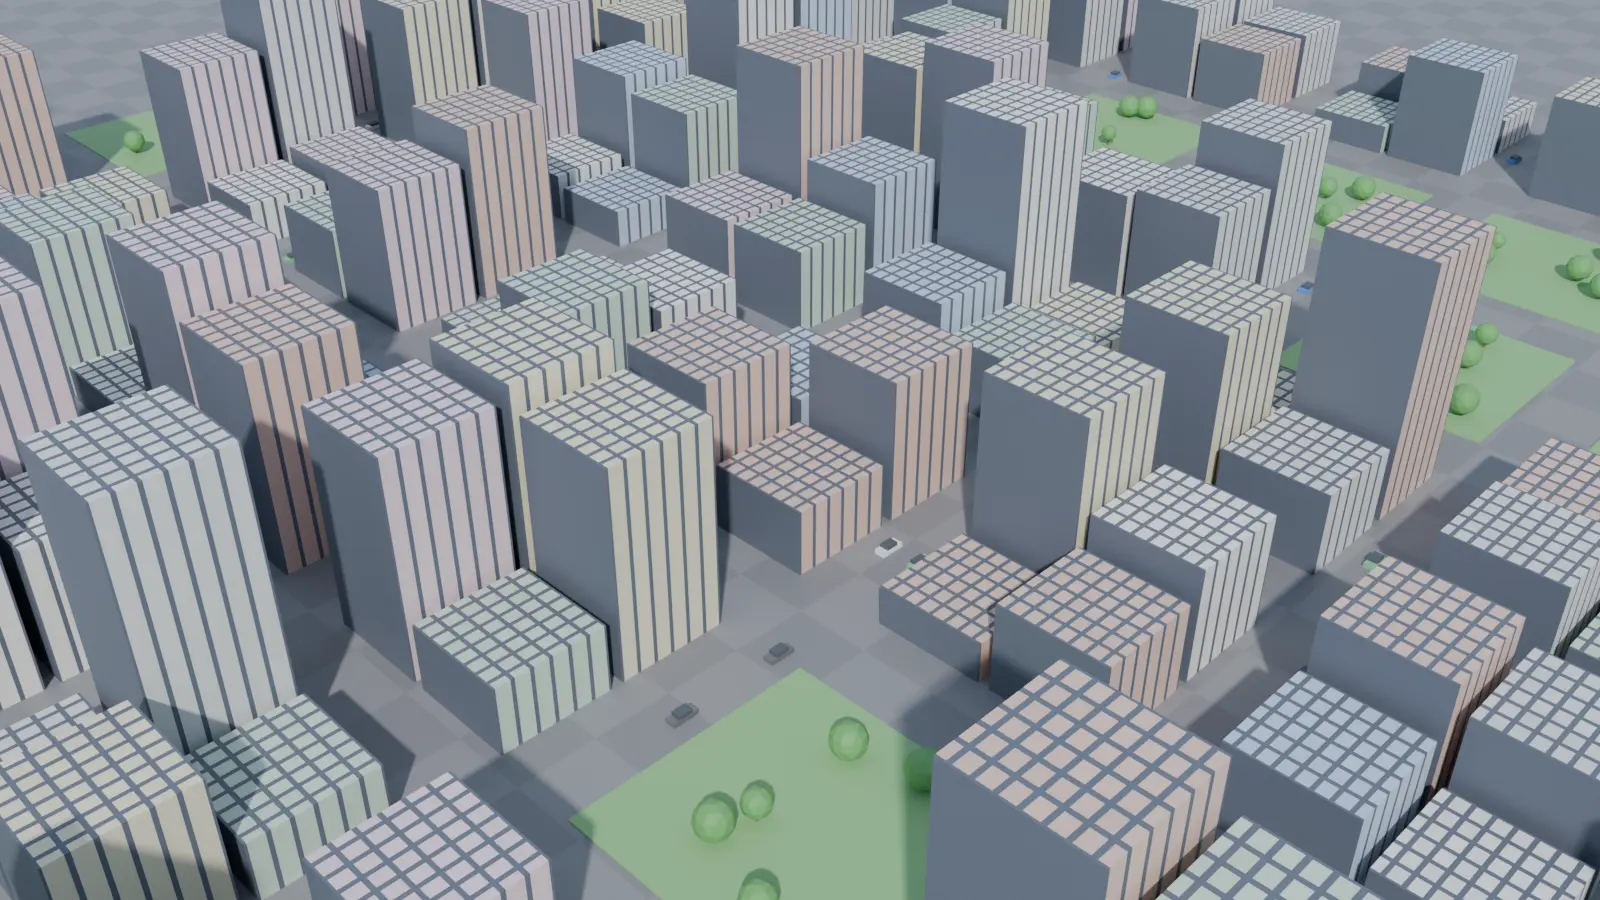
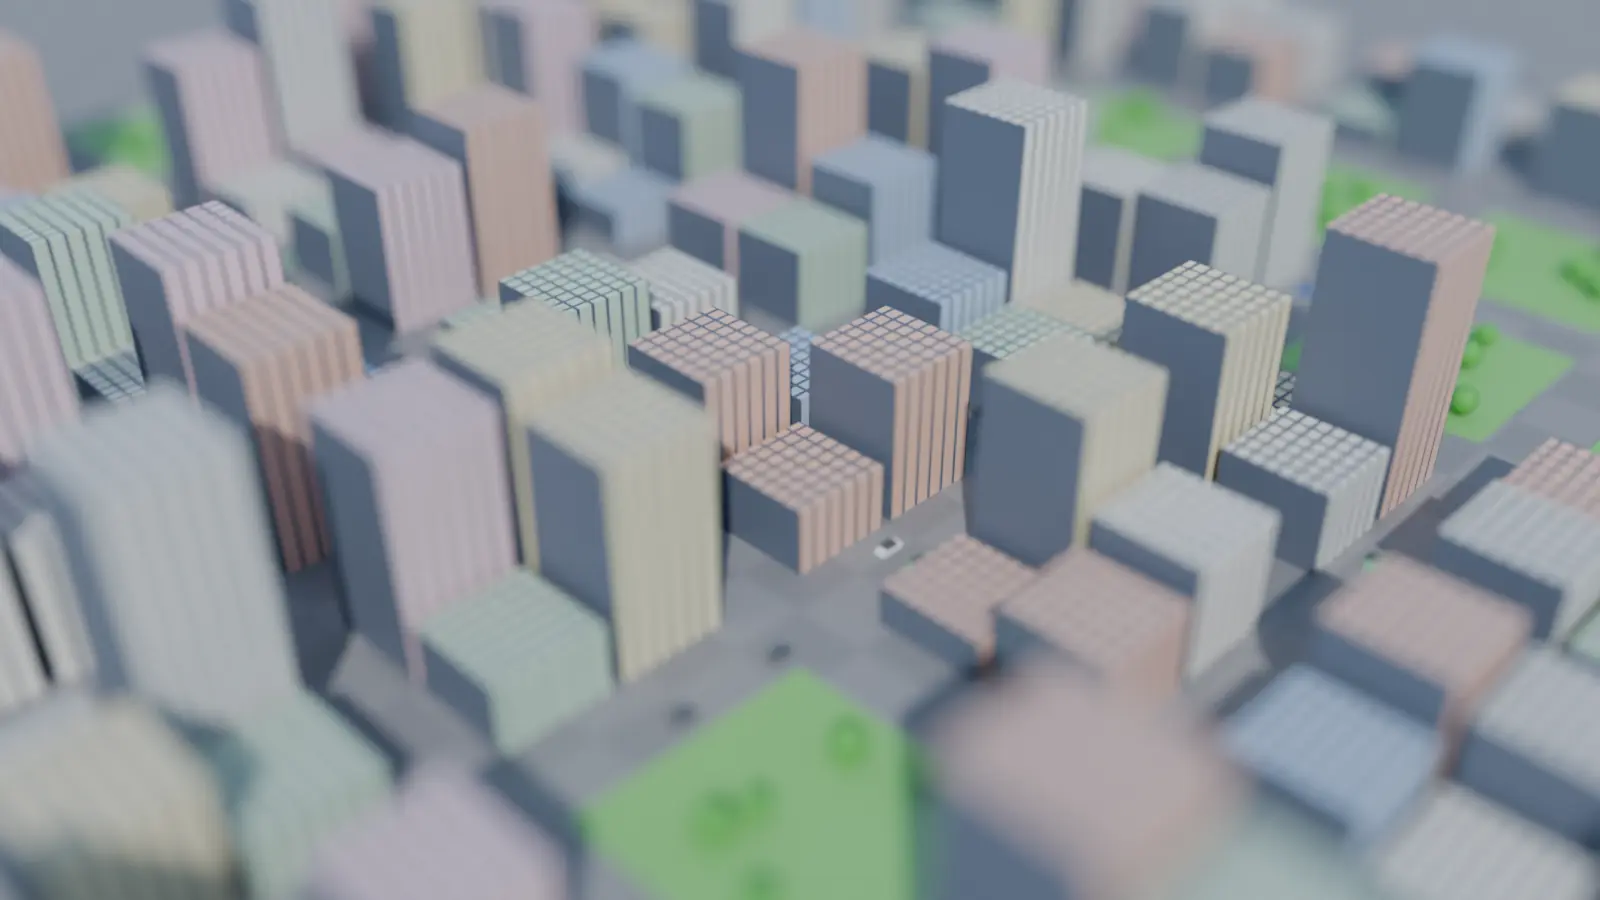 As rendered With DioramaPilot
The problem
A real miniature looks small because a lens that close has very little depth of field. In Blender you get there by trying f-stops until it looks right, and the right one changes with the lens, the distance and whether the scene is in metres or centimetres. Move the camera and you start again.
DioramaPilot works the f-stop out from the optics, for every frame, and you set one thing: how strong the look is.
How it works
What you get
Live in the viewport
The blur follows the camera as it moves, frame by frame, and F12 renders what the viewport shows.
Focus that stays put
Click a spot and the focus stays on it, also on a moving car. Scale, Seen From and Model Width say how small the scene looks.
Painted colours and stop motion
Saturation gives model-paint colours after your own compositor nodes. Motion On Twos makes cars and people hop.
Your camera back
Untick it and the camera’s own depth of field returns. Cycles and EEVEE, metres or centimetres.